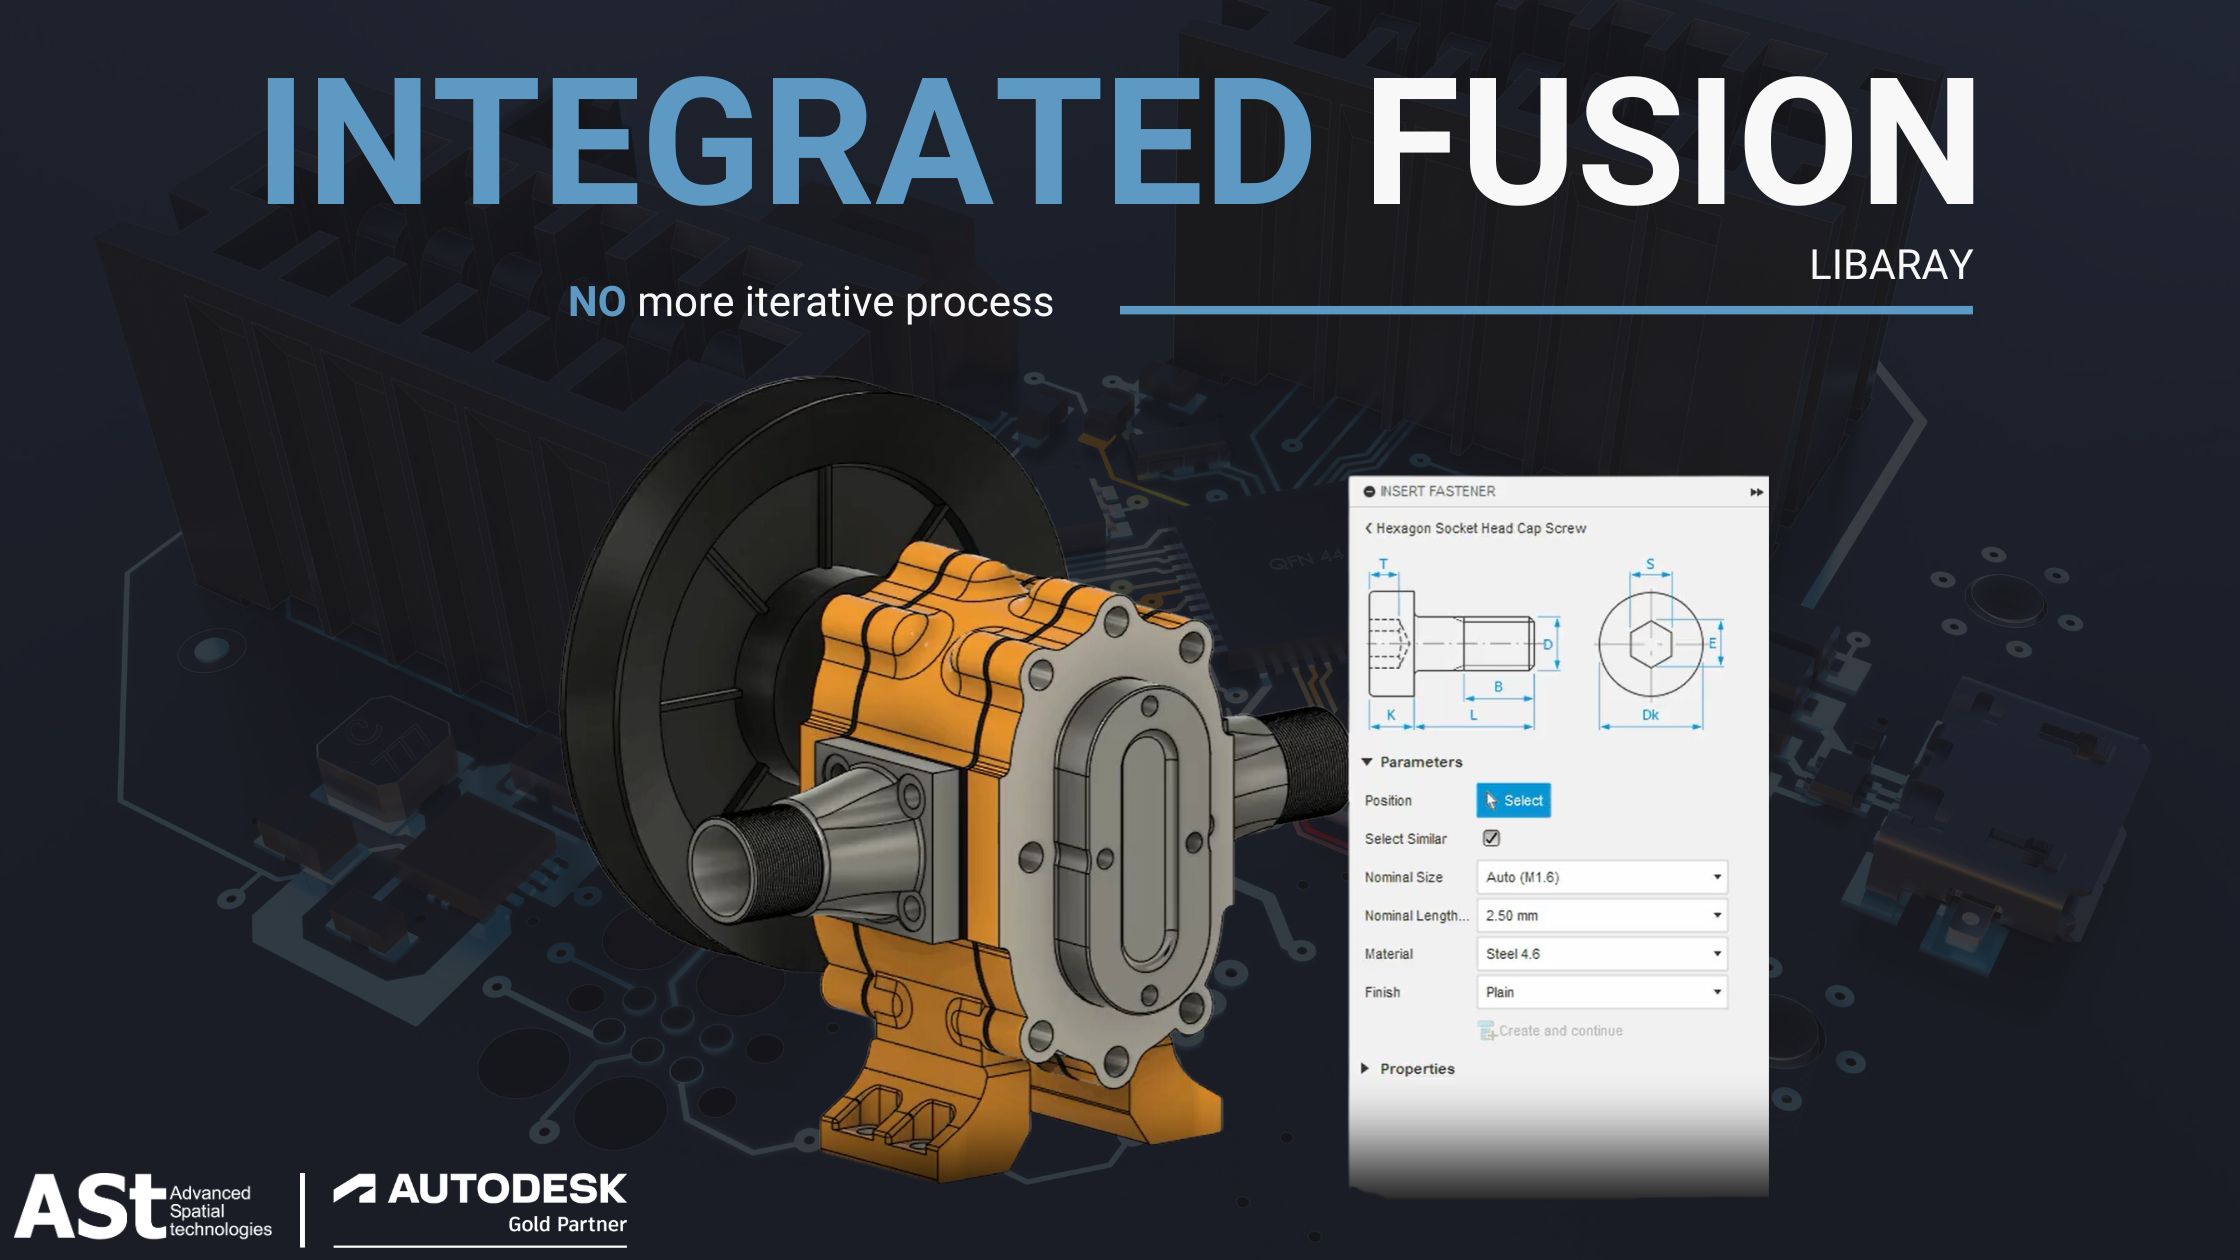
For quite some time, Autodesk Fusion has had integrations with McMaster Carr, Trace Parts, and CADENAS content, each offering a vast assortment of purchase parts. It’s a great place to find anything from bearings, frames, piping, and fittings, and much more. One thing we have heard over the years is that adding fasteners is a very iterative process. There has been a strong desire to have a more integrated fasteners library built right into Fusion, so that’s just what we did!
You’ll now see a new Fasteners icon in the Insert dropdown menu that launches our new cloud library. There’s no need to install anything—just select the Fastener icon to access a vast library of nuts, bolts, and washers.
Start by typing in your key search criteria, enabling filters, and choosing industry standards to find what you are looking for. Once you zero in on the fastener you want to insert into your design, you can select multiple holes or let the tool automatically fill similar-sized holes on your part.
Should you ever need to change the size of a fastener, you can edit one or more fasteners as needed. When creating drawings, you will see the Bill of Material (BOM) populated with the description, part number, and quantities represented correctly. This enables you to easily get an idea of the type and quantity of fasteners in your design.
How to find the right fastener
Let’s take a deeper dive into how to find the fastener you want to add to your design. You will notice you can narrow down the library by Searching, Filtering, and Browsing the folder structure.
- The search bar enables you to search for terms like “Socket Head Cap Screw” or even “SHCS” to only display fasteners with those criteria.
- You can also set filters that will persist every time you launch the fastener command with a second set of filters to filter out things like head type, thread type, size, and more. We have persistent filters for things like standards (ANSI, DIN, ISO…) and unit type (Metric, Imperial).
- If you aren’t sure what you’re looking for you can browse through folders to explore the full library. While browsing, you can also enable filters to find just the right fastener.
How to select and insert fasteners via the fasteners library
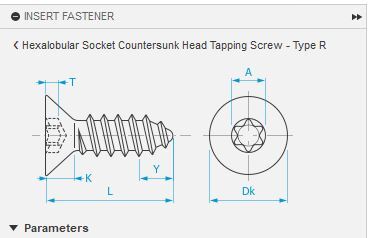
Once you have selected a fastener family, you’ll see additional information to help you select the right size and material and enter a part number or description if necessary. One of the most popular additions is the 2D schematic view of the fastener. This view offers the ability to see details of the fastener such as head height, nominal length, thread length, and much more.
As you move over holes in your model, you’ll see a preview of the fastener (updated to the hole diameter if the size is set to Automatic), letting you preview the fastener and size. Selecting a hole will auto-populate holes of the same size on the same face of that part. This allows you to quickly insert many fasteners at once. You can continue placing instances of the same fastener by clicking Create and Continue (or the green checkbox) to commit the positions and then by staying in the Insert Fasteners dialog to place additional instances. Now you can position additional instances from the same family or use the back button to choose different fasteners, such as washers and nuts.
How to edit a fastener
What happens when there is a design change, and you need to change the size of a bunch of fasteners? We have you covered. It’s as easy as right-clicking on them in the model, browser, or timeline to change their size. You can edit the full group of them or individually, providing a great deal of flexibility.
Other fun facts about using fasteners
- There’s a folder in the browser that allows you to turn on/off all the fasteners in your design if you ever want to work without them showing up in the graphics window.
- When inserting fasteners into holes, they will automatically be placed with joints and will update location as the model gets updated. Fasteners created at the same time will be grouped in the timeline, taking up less space and making it easier to edit a group of fasteners at once.
- Have you ever placed a nut or bolt on your part only later realizing you need to add a washer? If you place a washer on the nut or bolt, it will bump out the fastener and insert a washer in place without any extra work.
Fasteners and configurations
Can fasteners be used alongside configurations? Yes! You can create various configurations and insert fasteners of different sizes and hide/suppress the sizes you don’t want in each configuration. This will allow you to configure a design that needs different size fasteners in each configuration and make sure you get an accurate BOM.
Fasteners and drawings
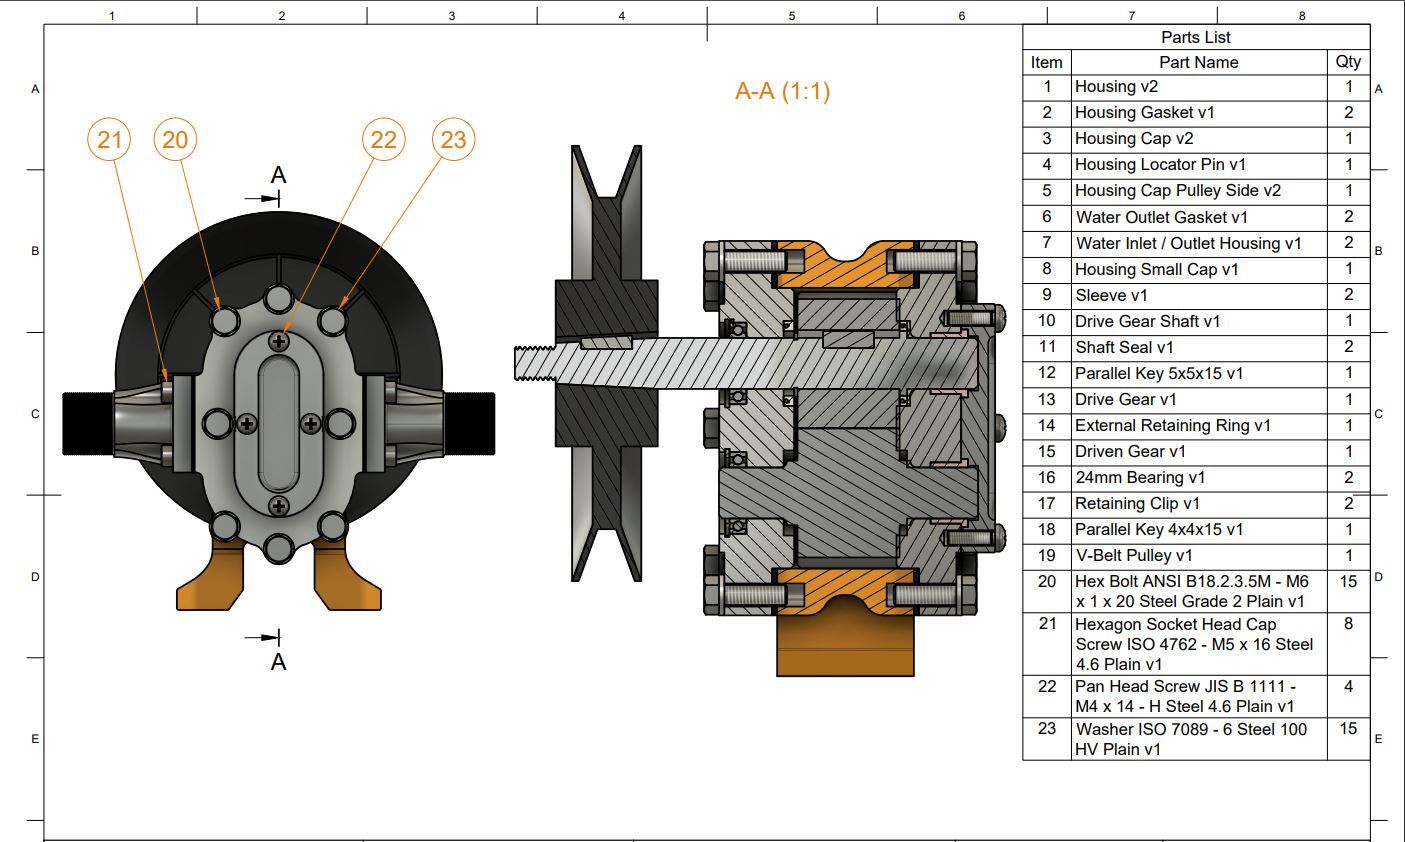
If you select a part when creating a drawing, you will notice fasteners don’t section (per standards). This allows you to better see standard parts. You will also notice the BOM will populate with a description and Part Number if you supplied one when inserting the fasteners with the correct quantity.
We hope inserting fasteners in Fusion is now a simple and delightful process thanks to the new fasteners library. We look forward to hearing your feedback.
Ready to subscribe to Autodesk Fusion?
Call us: (08) 9367 2888
Email us: sales@advancedspatial.com.au